Texturing (take 2)
So I got some requests to make a better version of how to texture stuff in Wings3D. So here comes a a version with lots of Pictures (sorry about the size, but If I scaled them you wouldn't be able to read).
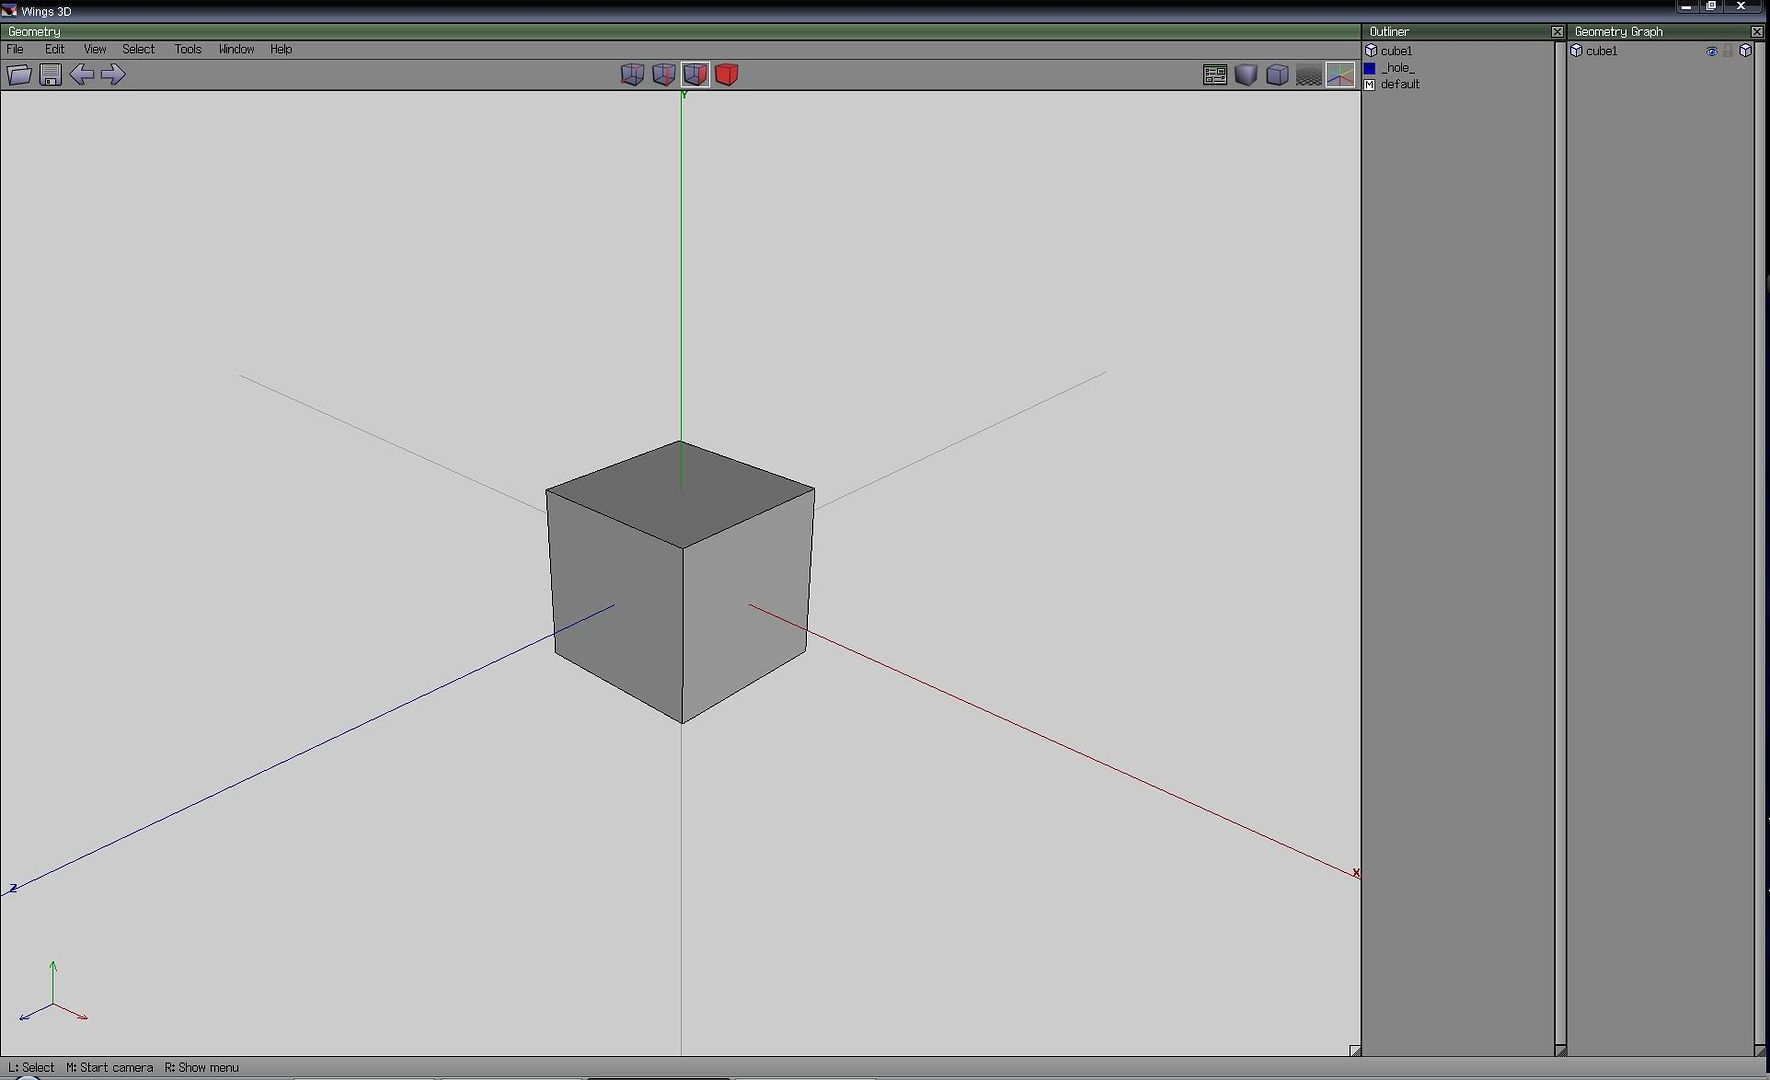
1. Create your object
Look a cube!!
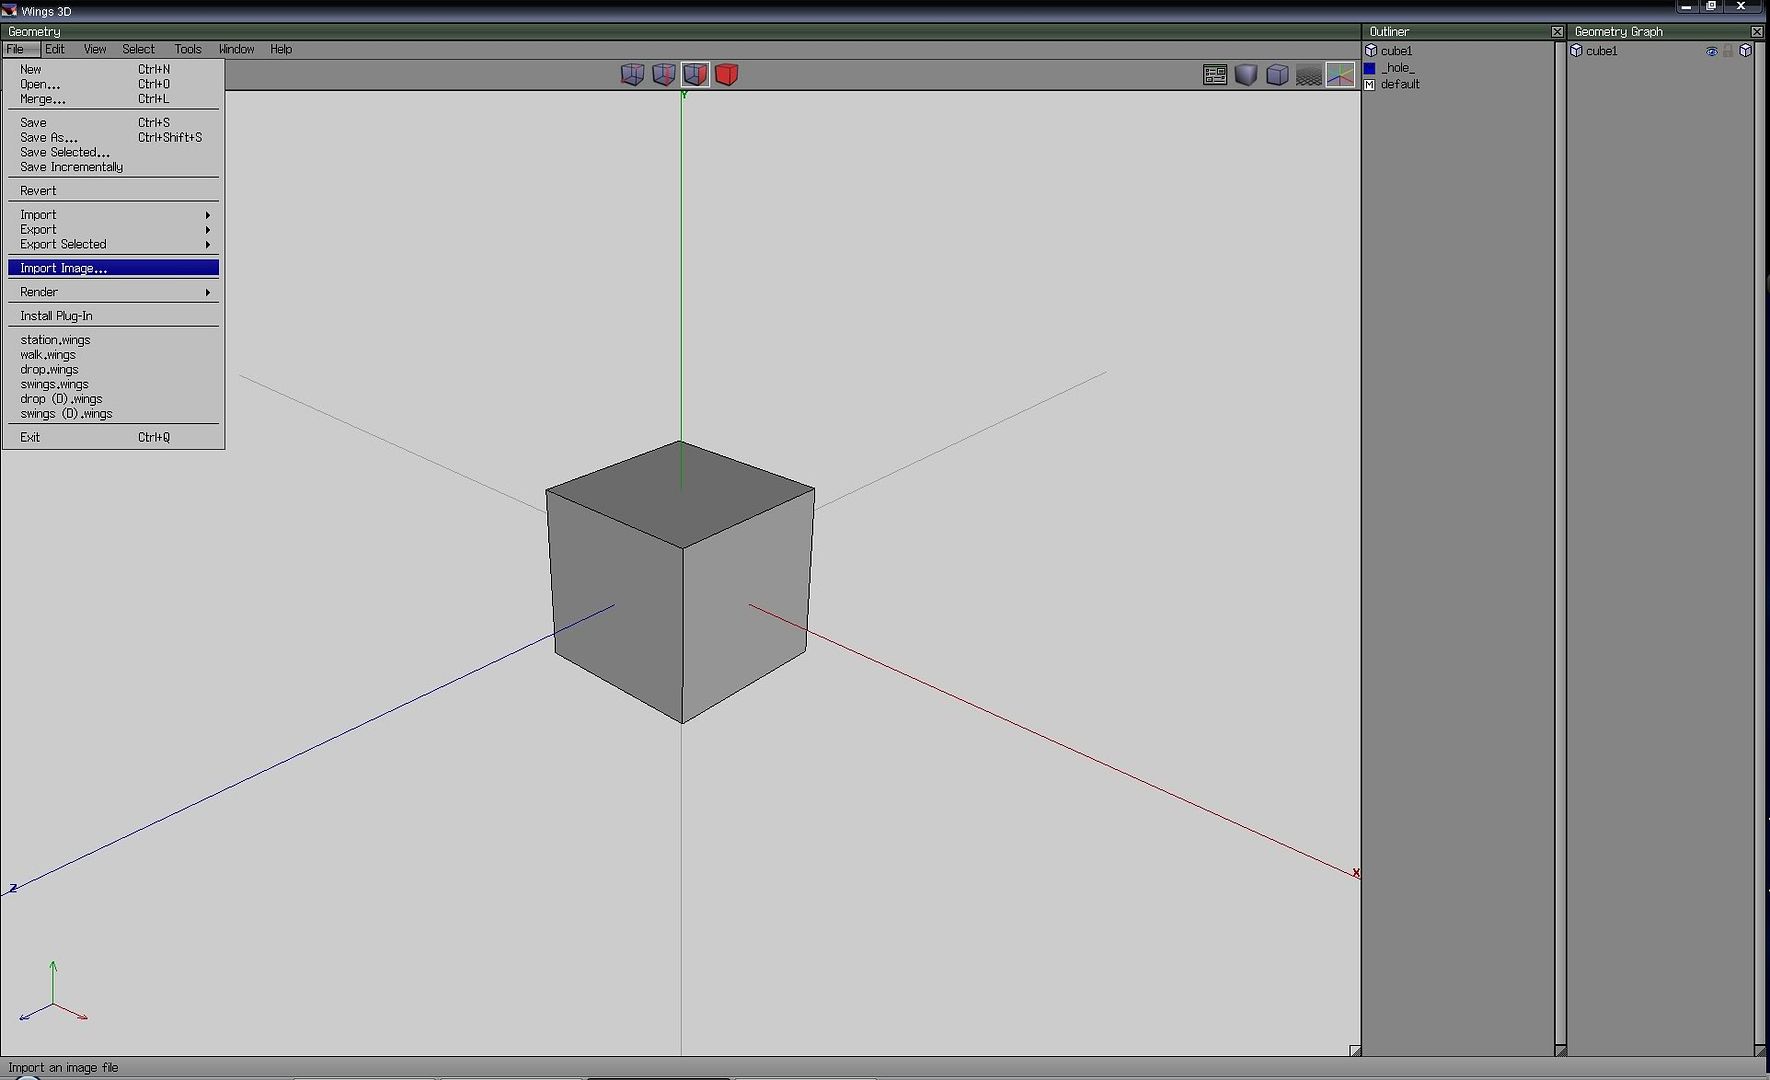
2. File > Import Image
This imports the image, do this with every texture you want to use on the object. Imported images will appear in the "Outline" window
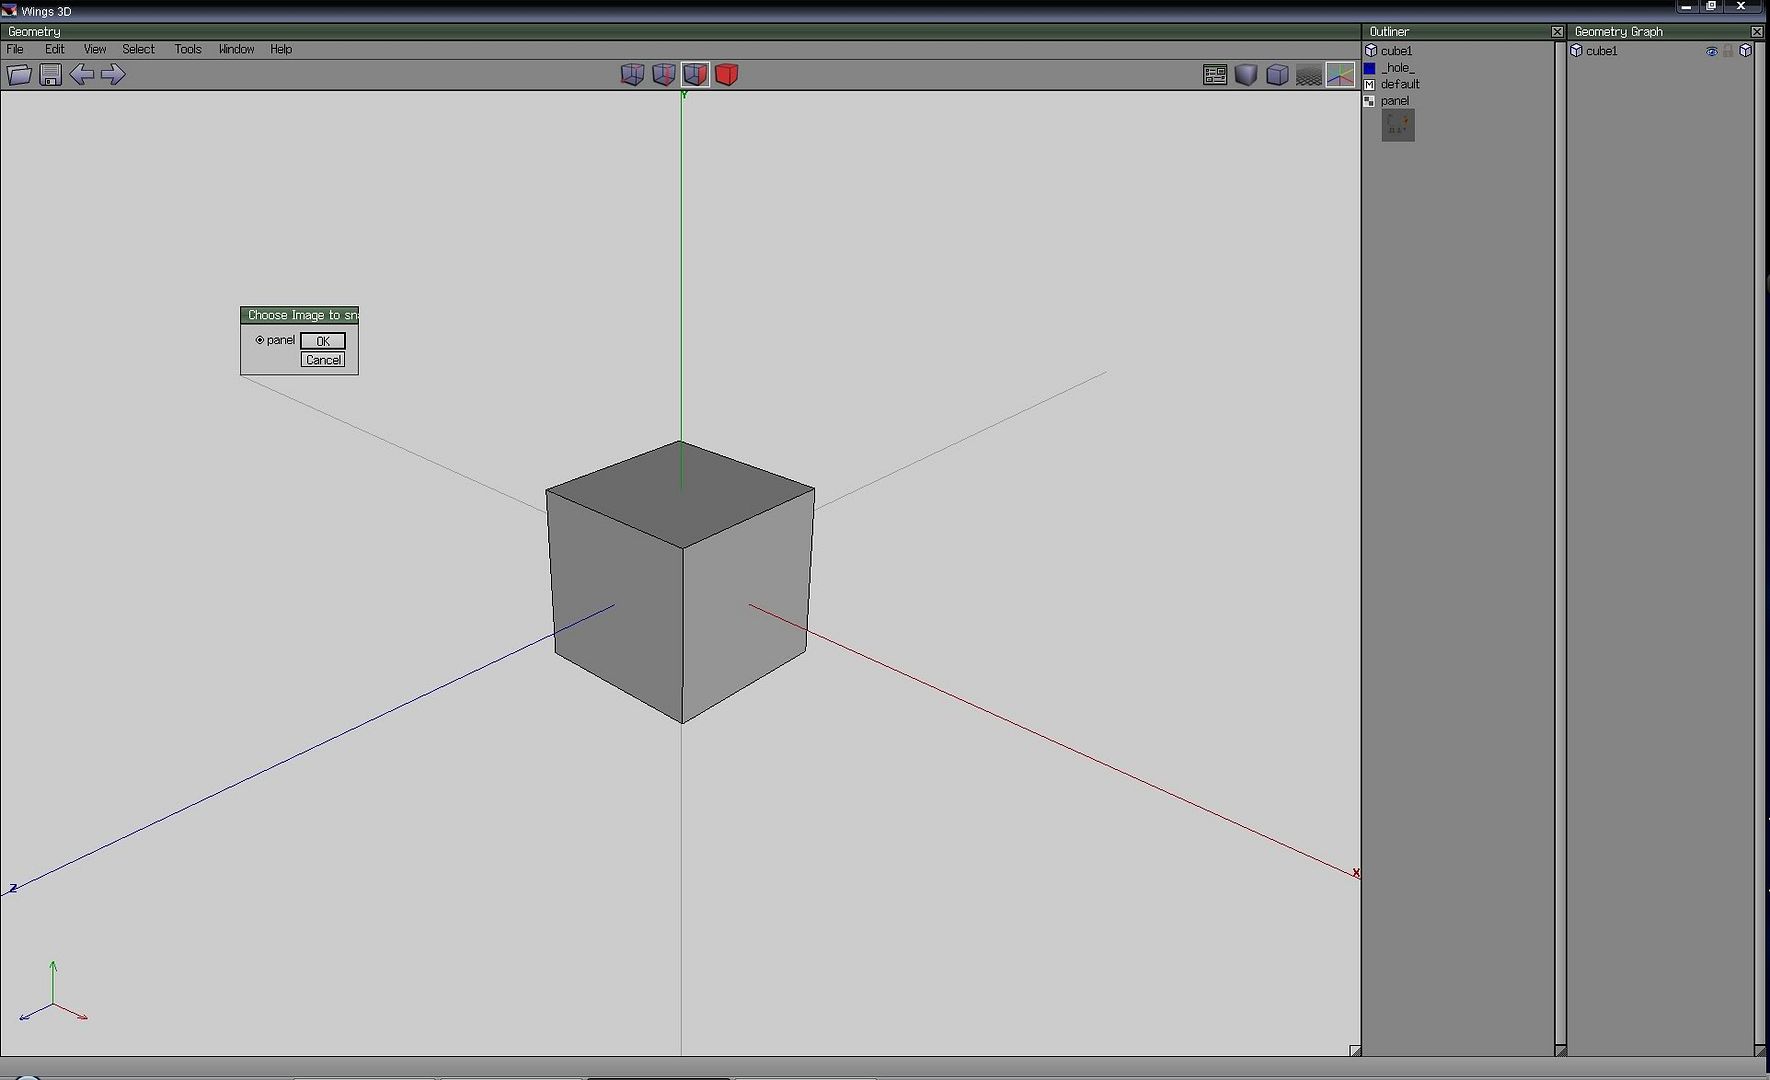
3. Pic Image
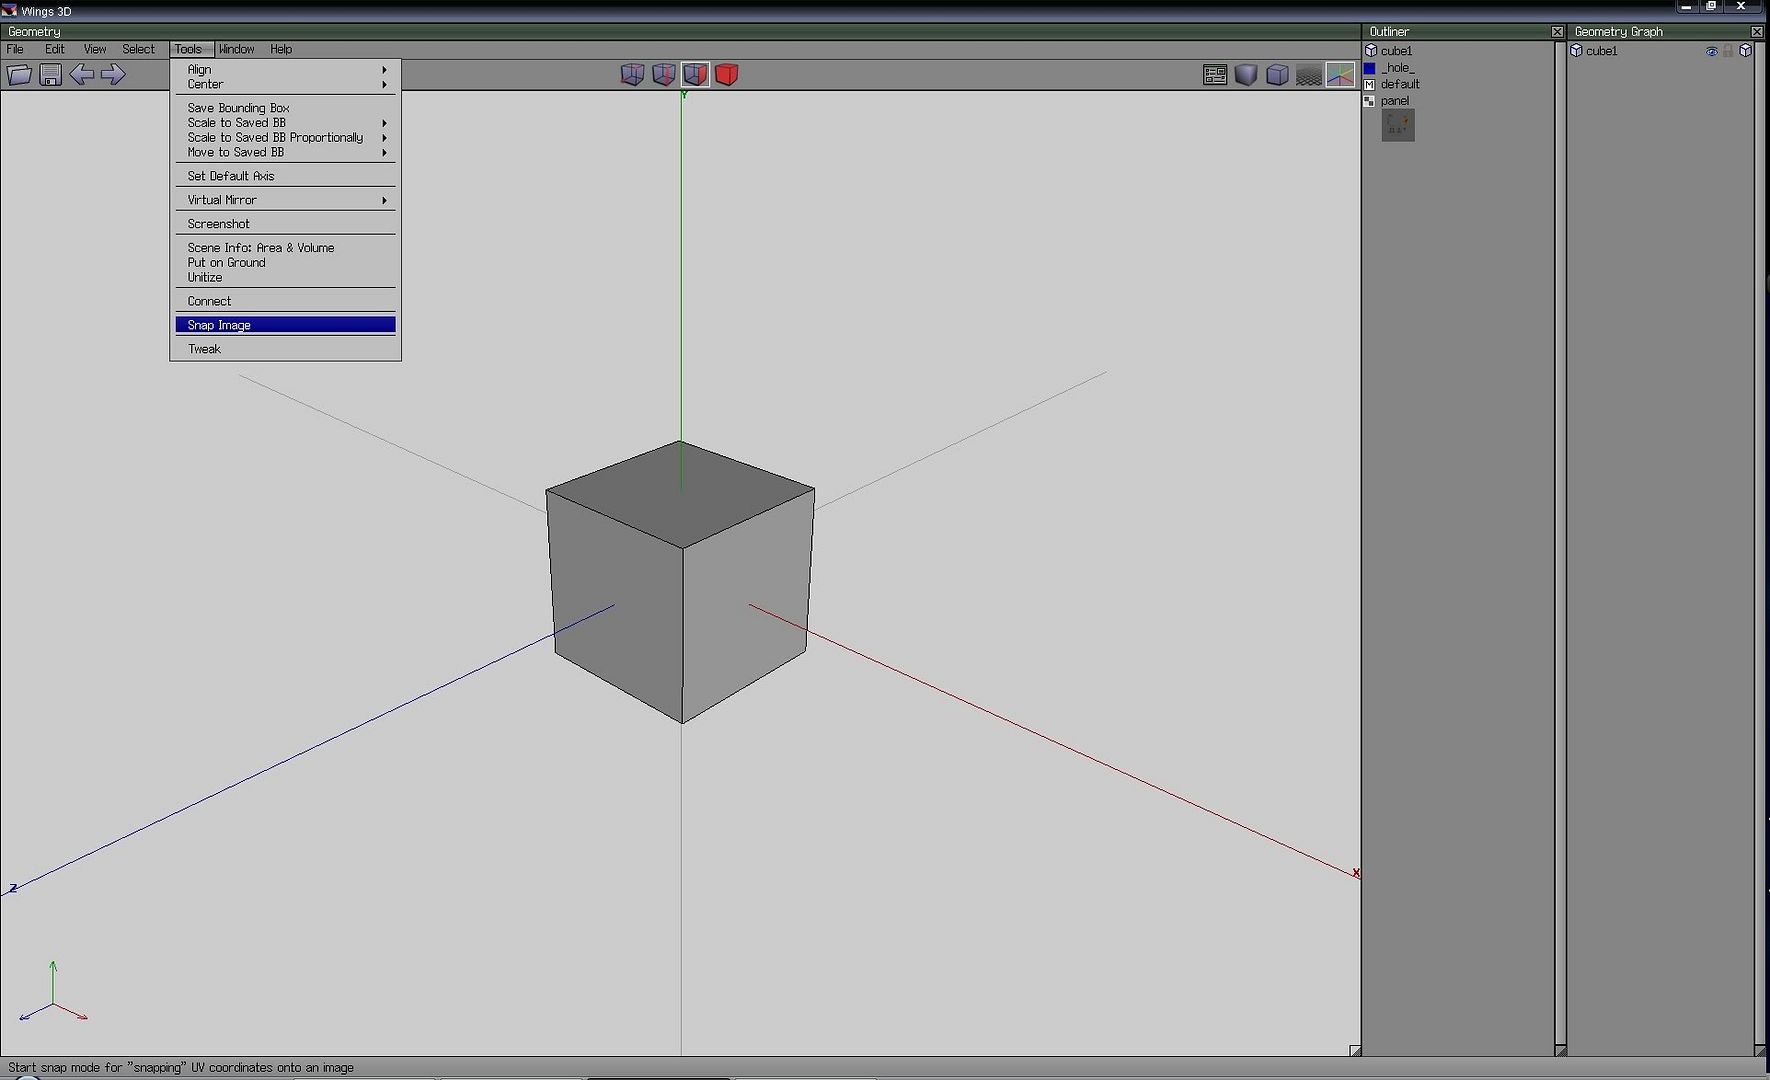
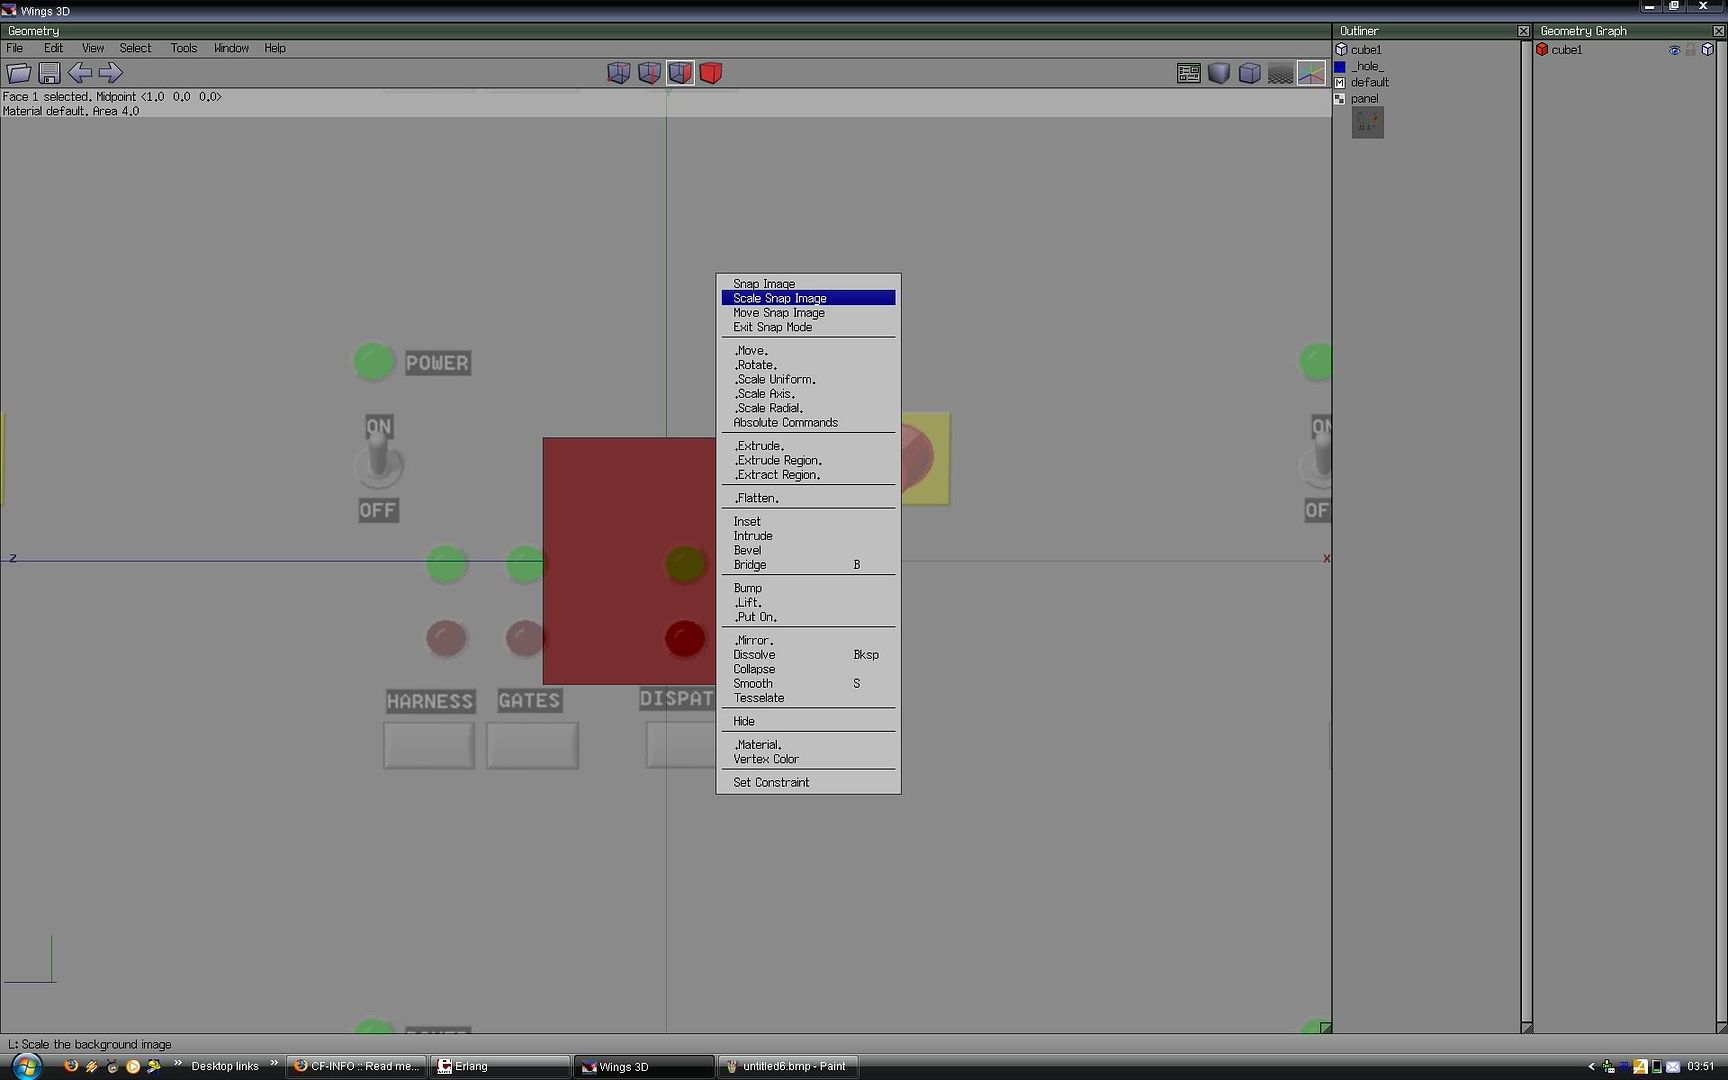
4. Tools > Snap Image
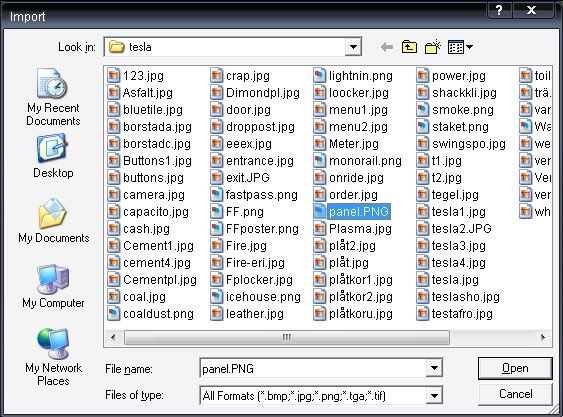
5. Choose which image to add.
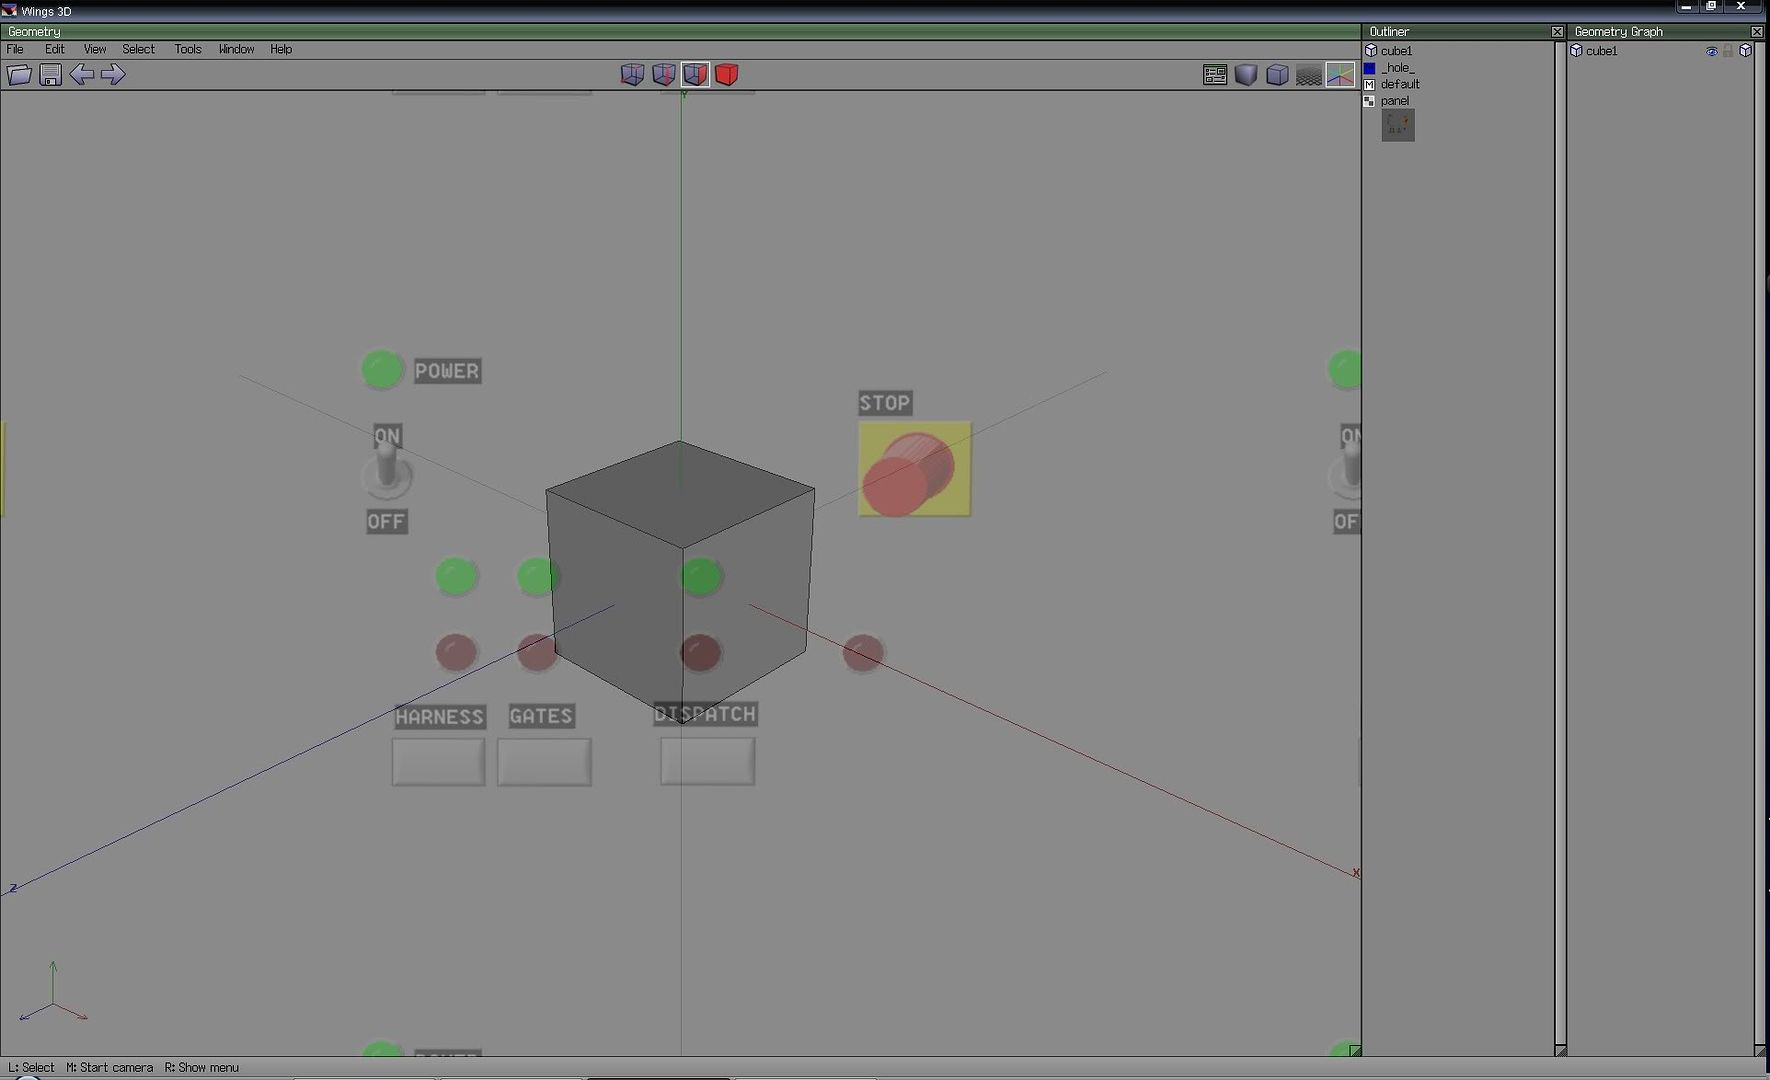
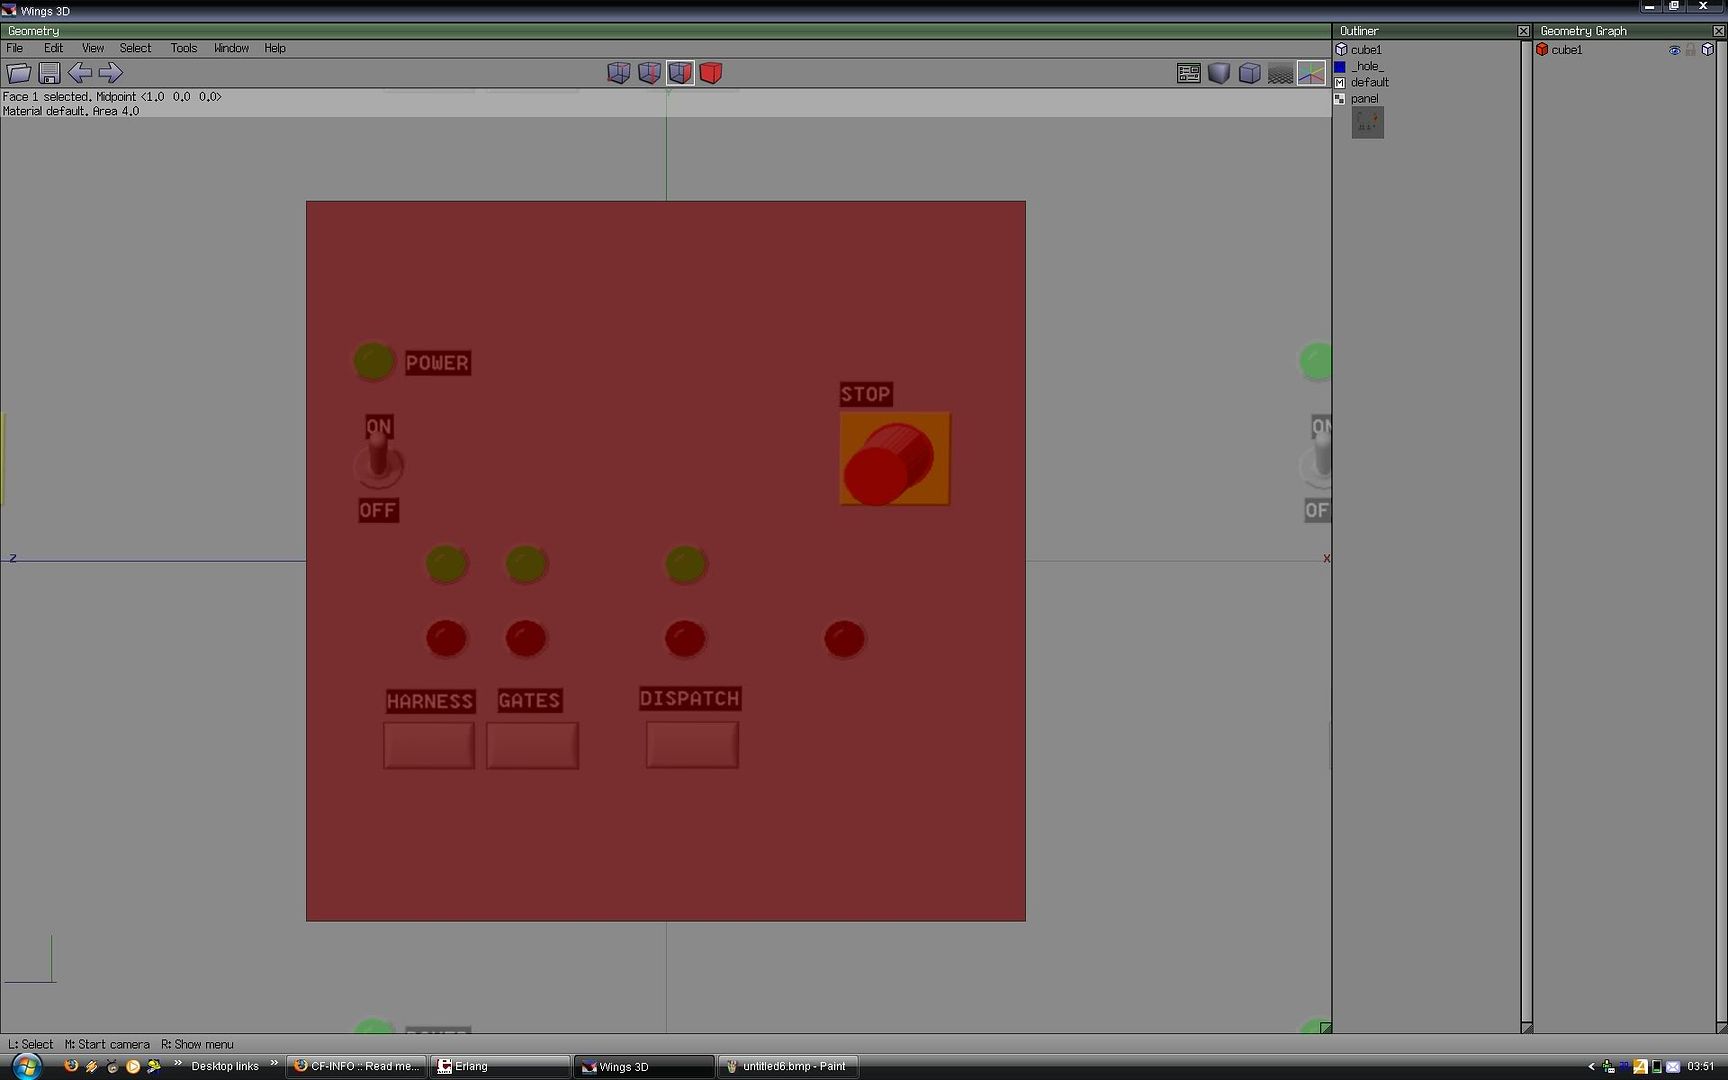
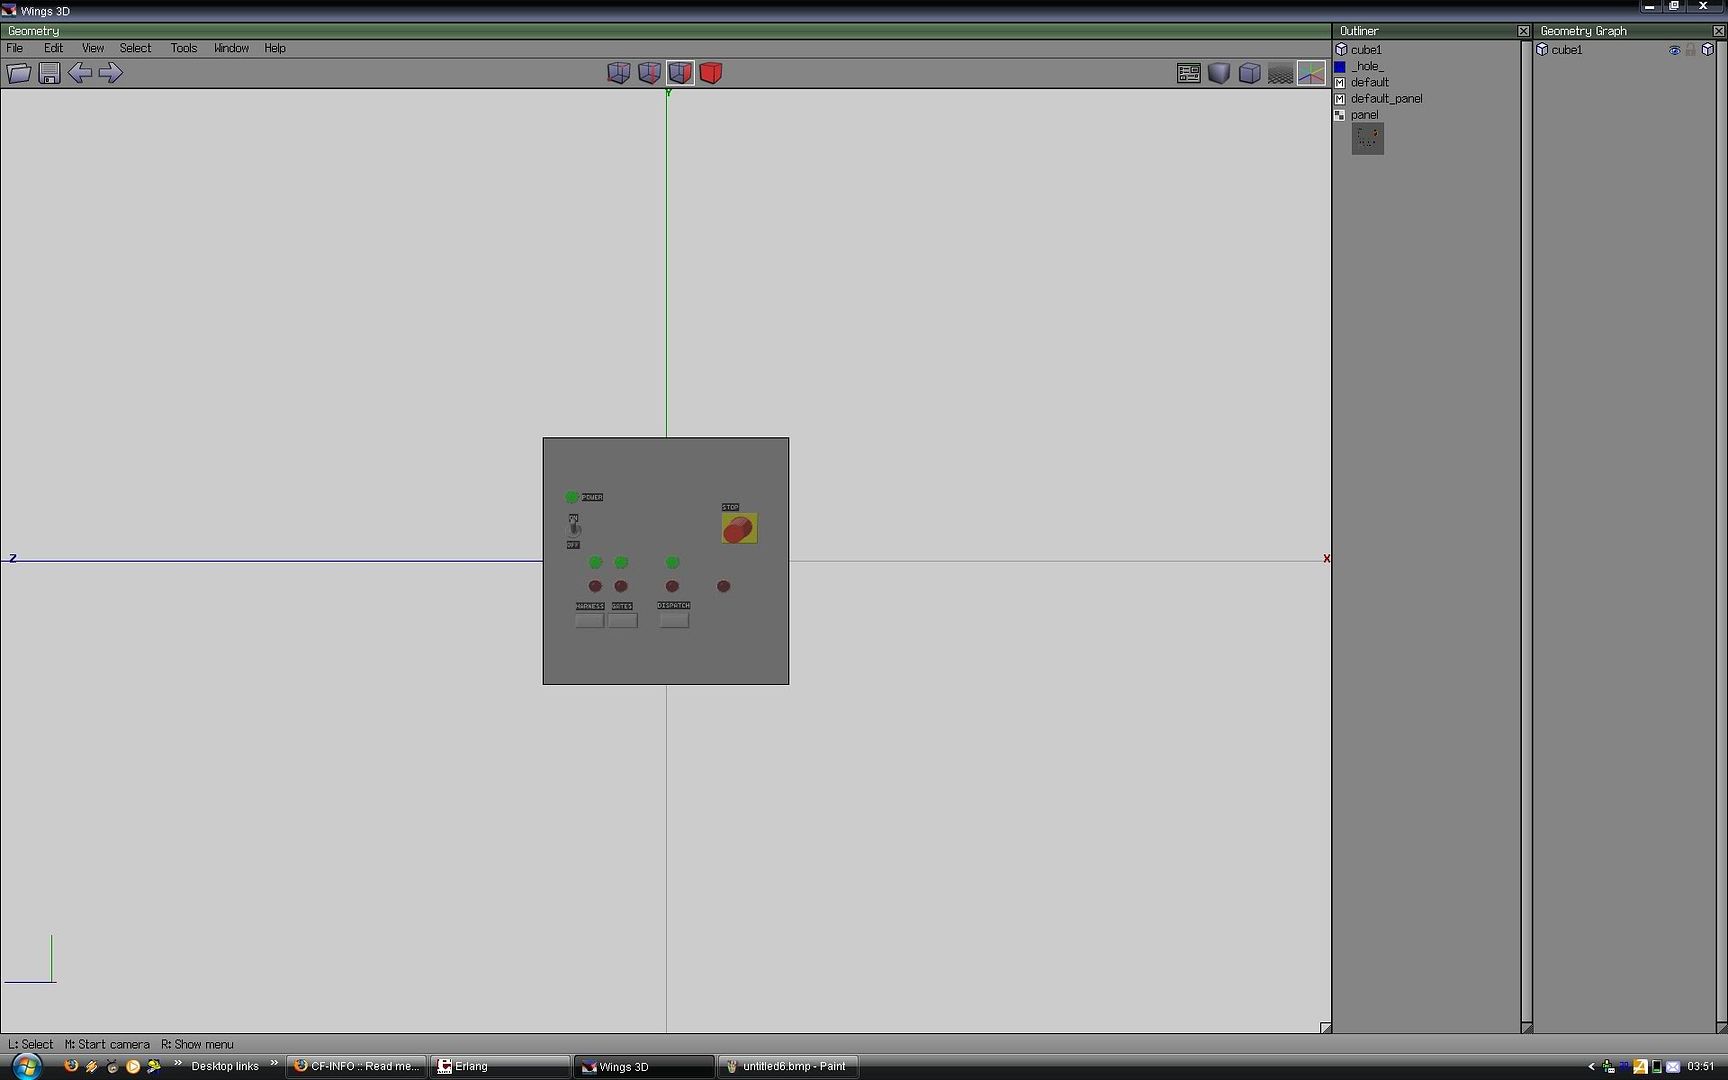
6. After you have chosen which picture to add, it looks like this (in this case).
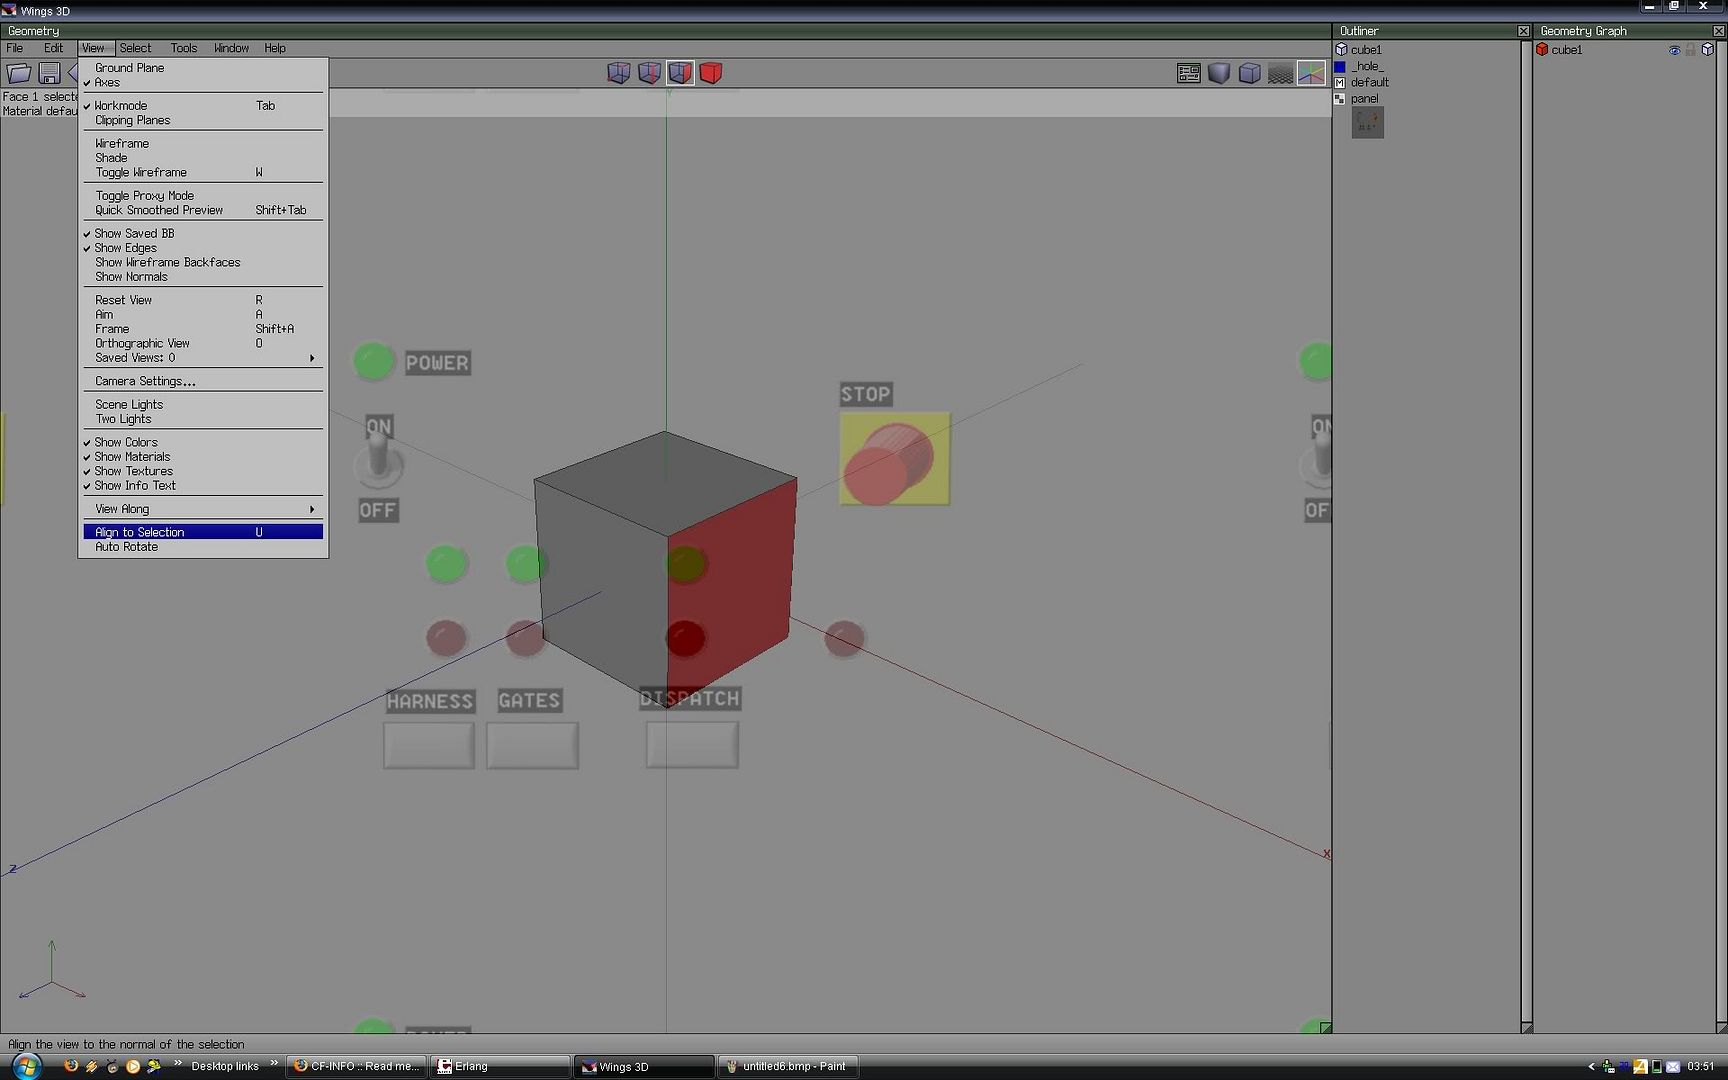
7. Select Surface
You can select multiple surfaces, note that it will look better if they all face the same direction.
8. View > Align to Selection
So you look right at the surface, for the best result (you can always rotate the camera manually).
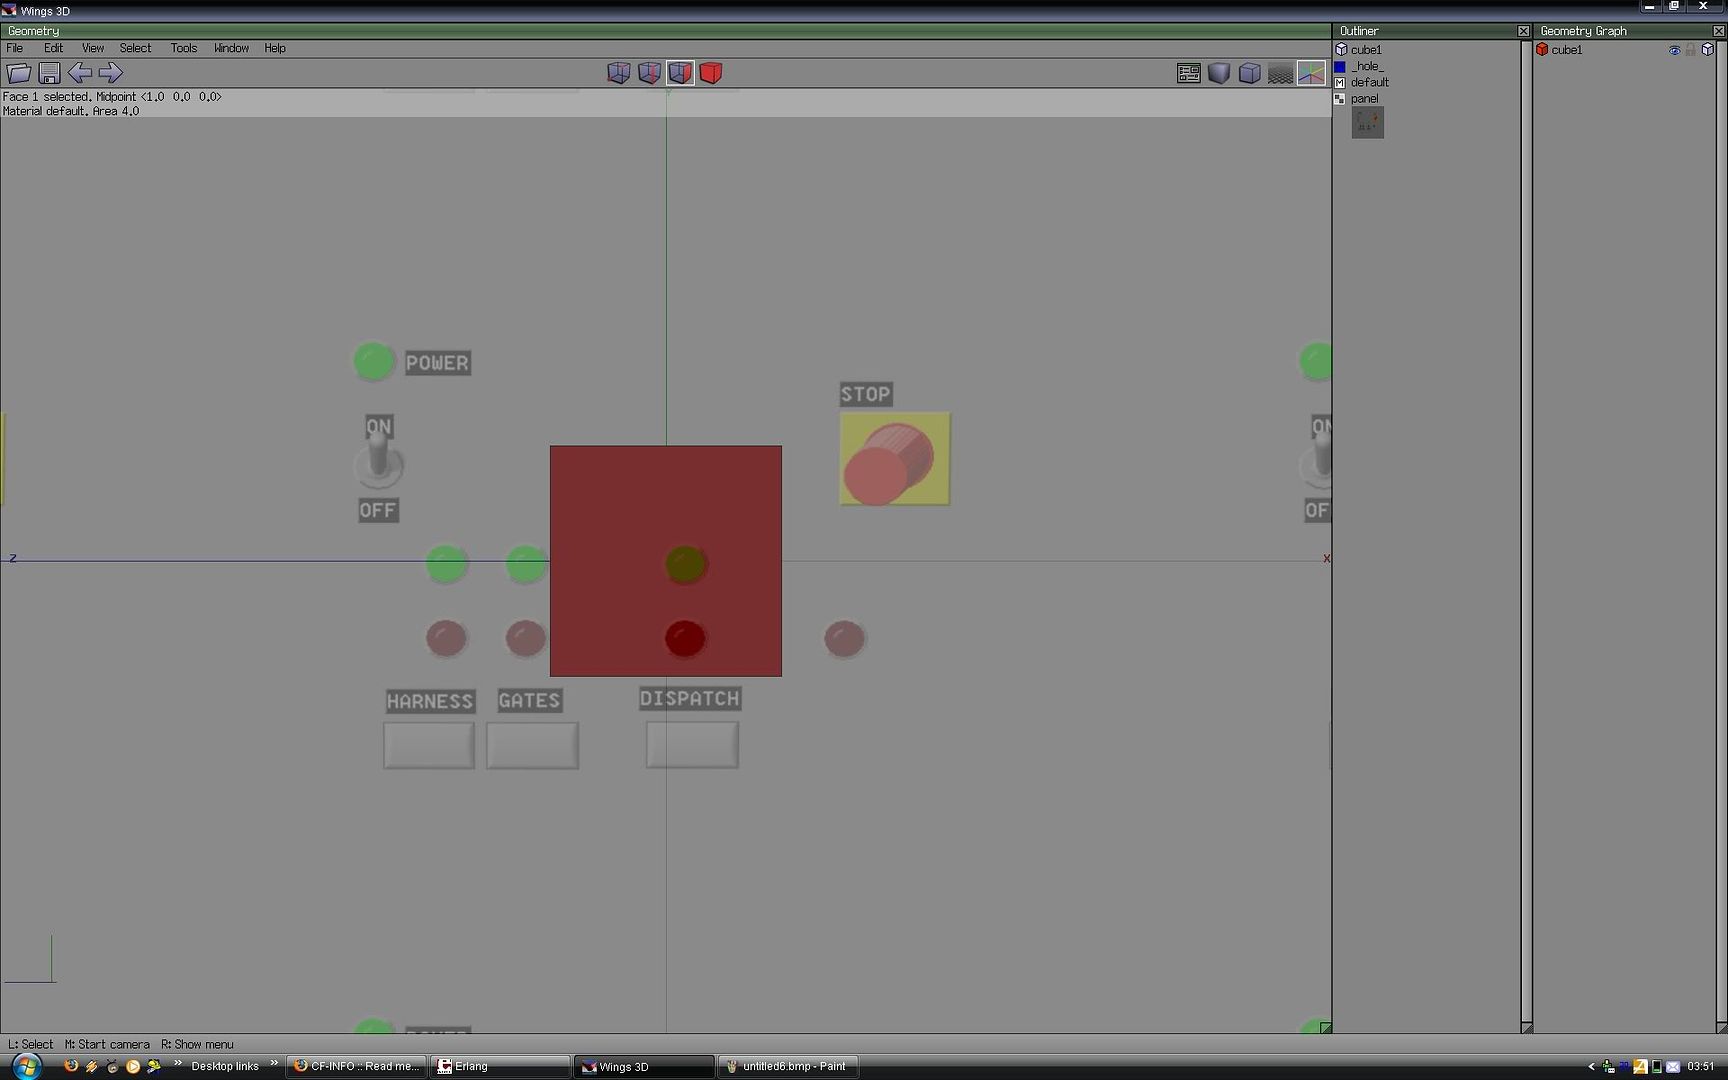
9. Aligned
10. Fit image to the surface.
10a. Either zoom with the scroll wheel to fit the image
Faster.
10b. Or scale/move the image (horizontal, vertical, free or uniform)
You get better control this way.
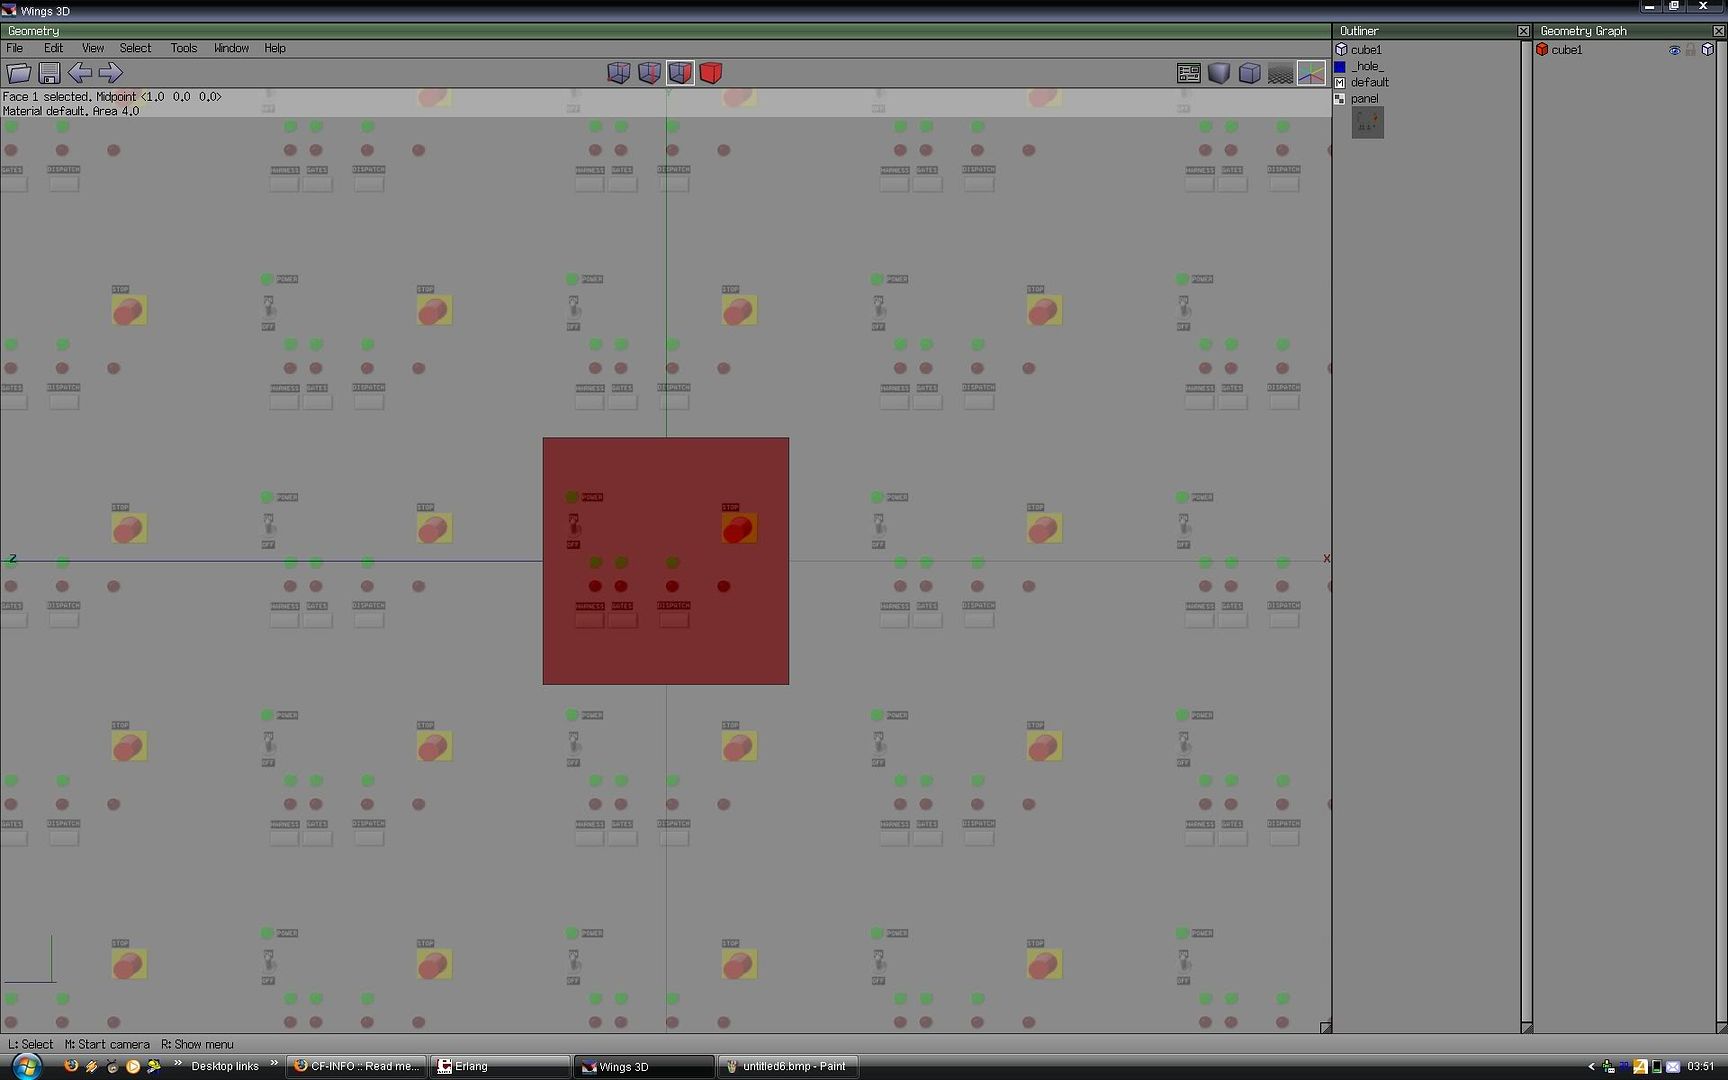
11. Fitted image
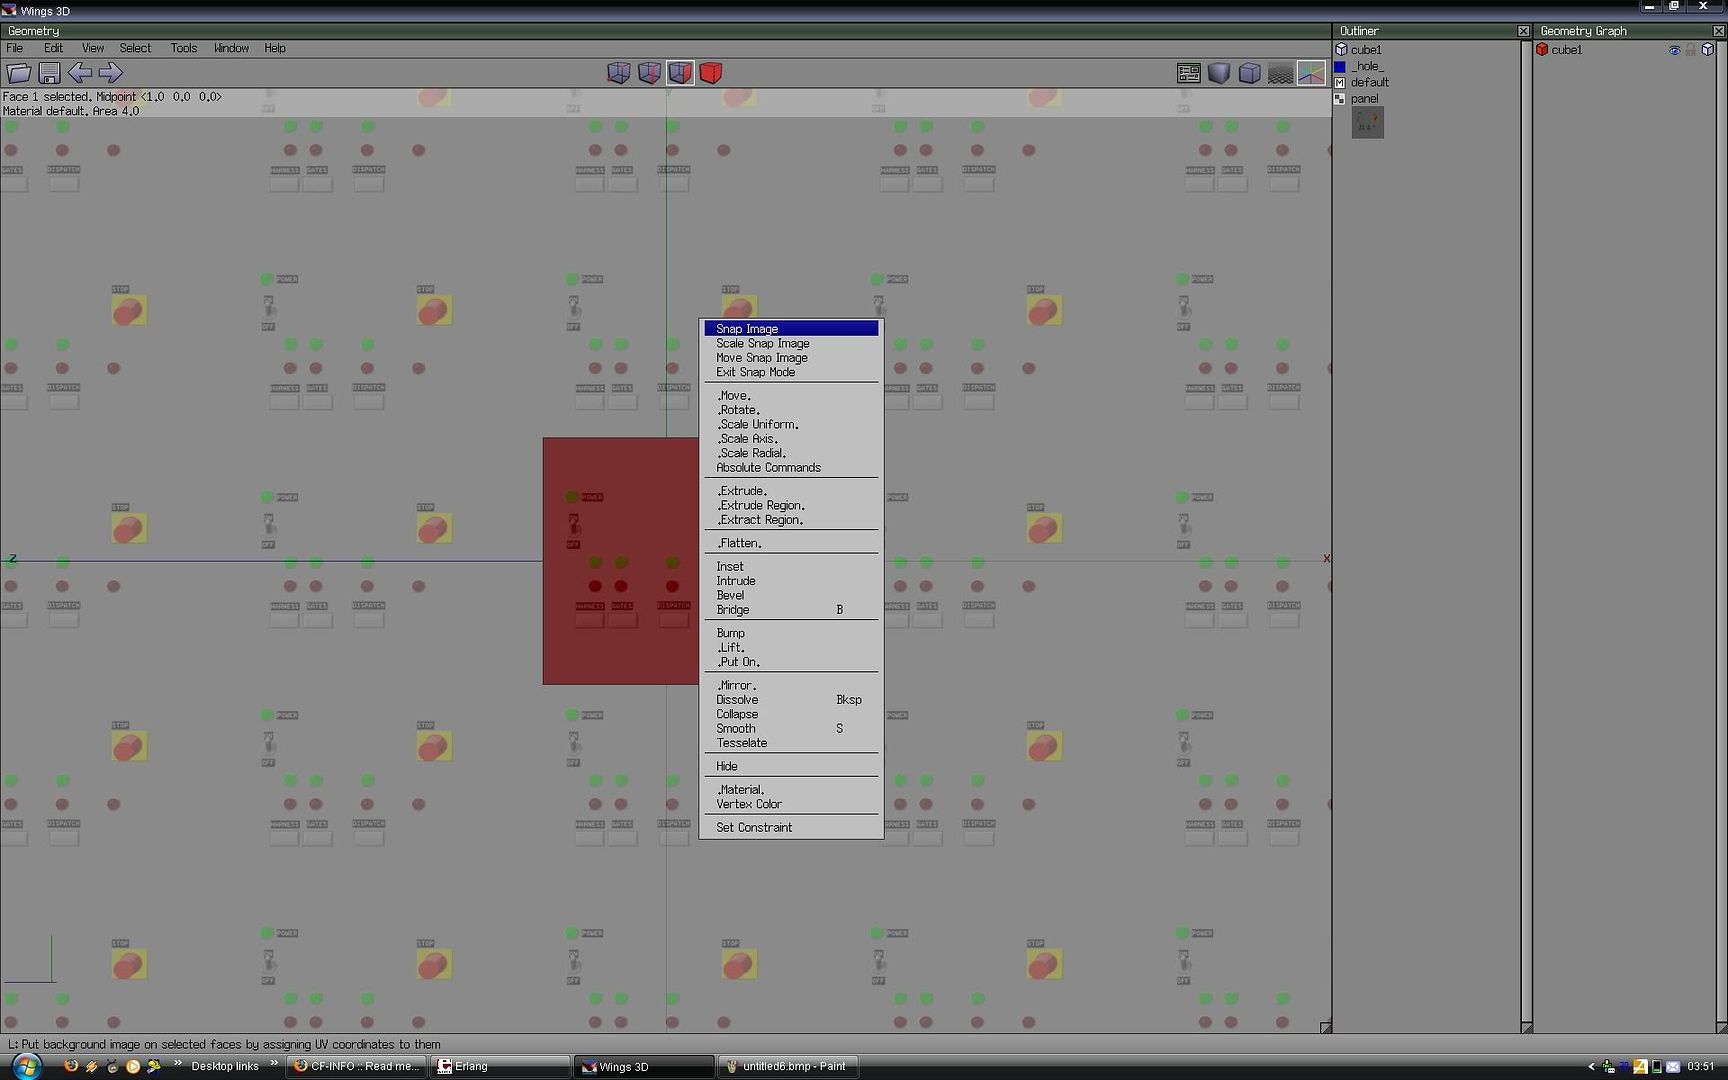
12. Snap!!
Snap image to surface, now you get a material for the surface in the "Outliner".
Repeat 7-12 until you have added the texture you choose in step 5 to every surface you wanted it on.
13. Exit Snap mode
14. Unselect
Added texture
15. DONE!!
All done, just add more stuff/textures/materials and export to NL.
I hope that this version makes more sense.